When it comes to satisfying your sweet tooth while still prioritizing health, nothing beats the deliciousness of Salted Maple Protein Cookie Bars! These bars offer a perfect blend of crispy edges and a chewy center that just melts in your mouth. Imagine the delightful scent of warm maple syrup mingling with nutty almond butter as you bite into these homemade treats. It’s like a warm hug after a long day.
These bars are not just a great way to keep your energy up—they’re also surprisingly simple to make! Amid the hustle of family gatherings and cozy winter evenings, it’s nice to whip up something that everyone will love, similar to my popular Nutty Chocolate Energy Bites. Share these Salted Maple Protein Cookie Bars at your next family get-together, and you just might win the heart of every guest—after all, the way to a man’s heart is through his stomach!
What are Salted Maple Protein Cookie Bars?
Now, you might be wondering, what exactly is a Salted Maple Protein Cookie Bar? Is it a cookie? A protein bar? A super combination of both? That’s the beauty of it! These bars embody a delicious marriage of wholesome ingredients that keep you full and satisfied, while still tasting indulgent. Picture this: you take a bite, and the sweetness of maple syrup dances on your taste buds, complemented by the saltiness that elevates every mouthful. These bars are perfect for a quick snack or as a post-workout treat.
Honestly, don’t you find it interesting how some snacks are called “cookie bars” and yet they don’t always resemble cookies? Let’s say, for instance, that these bars are one of the neatest snacks to whip up and share. So why not give it a shot? Your taste buds will thank you!
Why You’ll Love This Salted Maple Protein Cookie Bars
You might be asking, “What makes these bars stand out?” Well, let me give you three reasons:
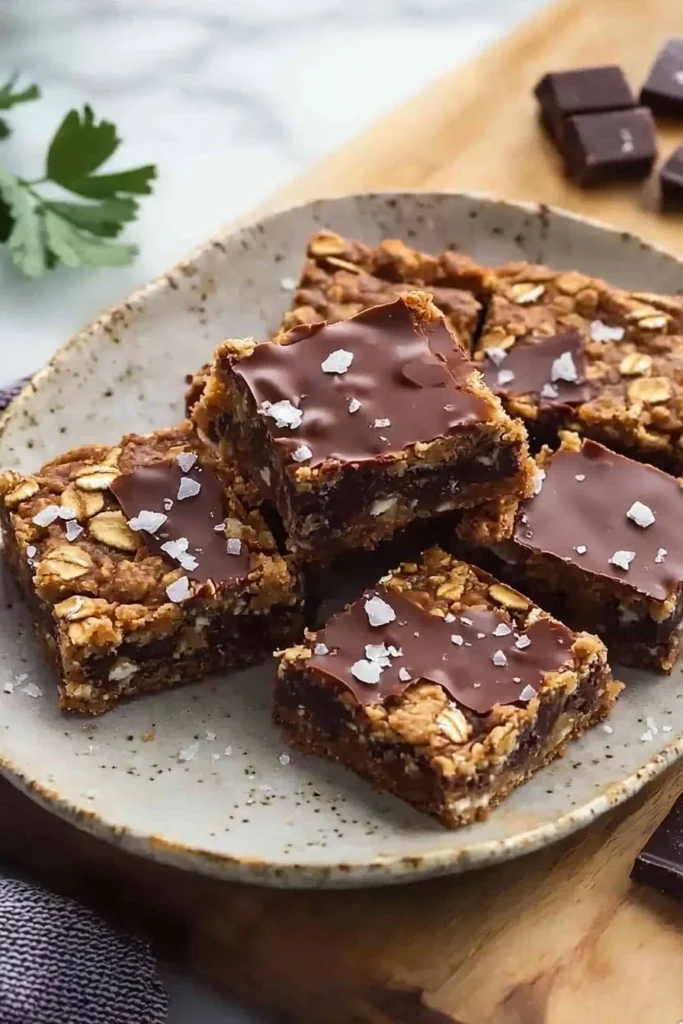
- Main Dish Highlight: The combination of oat flour and protein powder makes these bars a perfect choice for a nutritious yet delicious treat. The texture is simultaneously chewy and crisp, with each bite delivering a satisfying crunch.
- Cost-Saving Benefits of Cooking at Home: With just a few affordable ingredients, you can create multiple batches of these bars at home, which can save you a nice chunk of change compared to store-bought protein snacks!
- Flavorful Toppings: You can get creative with toppings! Add in some extra chocolate chips, a sprinkle of chopped nuts, or even a drizzle of almond butter on top for a flavor boost. It’s a bit like the classic peanut butter cookie but on a health-conscious level. So gather your family around and transform your kitchen into a baking haven with these Salted Maple Protein Cookie Bars!
How to Make Salted Maple Protein Cookie Bars
Quick Overview
These Salted Maple Protein Cookie Bars are not just easy to make, but they also deliver an explosion of flavors and textures! With a preparation time of only 15 minutes, it’s an instant win for those busy days. The crunchy edges paired with the soft center make every bite a treat you won’t want to miss.
Ingredients
For these tantalizing bars, you will need:
- 1 cup oat flour
- 1/2 cup protein powder
- 1/2 cup maple syrup
- 1/4 cup unsalted almond butter
- 1/2 teaspoon baking soda
- 1/2 teaspoon salt
- 1/4 cup chocolate chips (optional)
Note: Make sure to check for Halal certification on your ingredients if needed.
Step-by-Step Instructions
- Preheat Your Oven: Begin by preheating your oven to 350°F (175°C).
- Mix Dry Ingredients: In a large mixing bowl, combine the oat flour, protein powder, baking soda, and salt. Make sure to blend them well to reach an even texture.
- Combine Wet Ingredients: In another bowl, mix the maple syrup and almond butter until smooth and creamy.
- Combine Mixtures: Slowly pour the wet ingredients into the dry mixture. Stir until everything is well combined. You’re looking for a thick batter consistency.
- Add Chocolate Chips: If you’re using them, gently fold in the chocolate chips. This step is optional, but who can resist a bit of chocolate?
- Prepare Baking Pan: Transfer the batter to an 8×8 inch baking pan lined with parchment paper. Spread it evenly.
- Bake: Place the pan in your preheated oven and bake for 20-25 minutes, until the top is golden brown and a toothpick inserted comes out clean.
- Cool & Cut: Let the bars cool in the pan for about 10 minutes before transferring them to a wire rack. Once they are completely cool, cut them into bars.
Top Tips for Perfecting Salted Maple Protein Cookie Bars
Here are some expert tips to take your Salted Maple Protein Cookie Bars to the next level:
- Substitutions: If you’re looking for alternatives, try using sunflower seed butter instead of almond butter for those with nut allergies. You can also swap out the oat flour for coconut flour for a gluten-free version (just remember to adjust the quantities as coconut flour absorbs more moisture).
- Timing: Make sure not to over-bake these bars. They will continue to firm up as they cool.
- Common Mistakes: Avoid using liquid sweeteners, as they can yield a different texture. Stick to the measurements for that perfect chewiness!
Storing and Reheating Tips
To keep your Salted Maple Protein Cookie Bars fresh, store them in an airtight container in the refrigerator. They’ll last about a week. For longer storage, you can freeze them for up to three months. Just make sure to wrap them well in plastic wrap or foil before putting them in a freezer bag.
When you’re ready to enjoy them again, simply let them thaw at room temperature or pop them in the microwave for 10-15 seconds to warm them back to their original delightful texture.

Now that you know how to make these delicious Salted Maple Protein Cookie Bars, it’s time to gather your ingredients and get baking! Your family will love these tasty treats that are not only wholesome but also packed with flavor. Happy baking!
Salted Maple Protein Cookie Bars
Ingredients
Method
- Preheat your oven to 350°F (175°C).
- In a large mixing bowl, combine oat flour, protein powder, baking soda, and salt. Mix well.
- In another bowl, mix maple syrup and almond butter until smooth and creamy.
- Slowly pour the wet ingredients into the dry mixture and stir until well combined, reaching a thick batter consistency.
- If using, gently fold in the chocolate chips.
- Transfer the batter to an 8x8 inch baking pan lined with parchment paper and spread evenly.
- Place the pan in the preheated oven and bake for 20-25 minutes, until the top is golden brown and a toothpick inserted comes out clean.
- Let the bars cool in the pan for about 10 minutes before transferring to a wire rack to cool completely.
- Once cool, cut into bars.
Notes

I am Mark Luke and I’m the founder of PrinterBio.com. I started this site because I was tired of dealing with the problems that come with using printers. I wanted to help others avoid the time and frustration I had, So I started this site based on my own experience & what I’ve learned from other professionals. My goal is to help you find the right printer and easily solve any problems you may have with your printer.