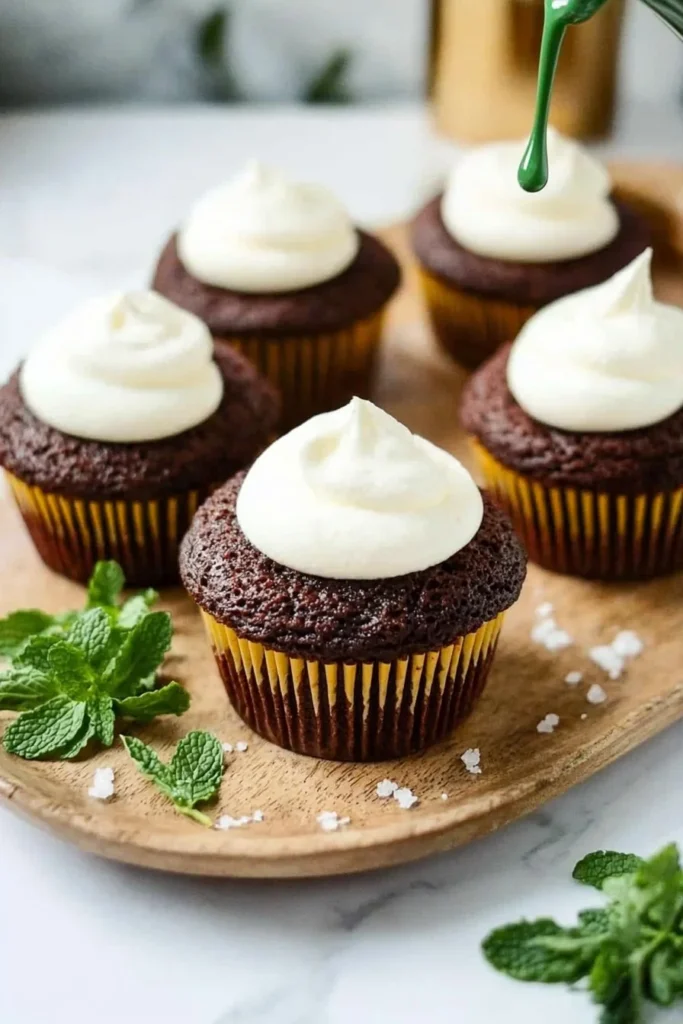
There’s something enchanting about cupcakes. They’re little pockets of joy that bring smiles at family gatherings, casual get-togethers, and cozy winter evenings. And trust me when I say, Mint Velvet Cupcakes are no exception—they create a delightful experience that mixes rich chocolate flavor with the refreshing zing of mint. Imagine biting into a moist, fluffy cupcake that melts in your mouth, leaving a soft, minty essence that lingers long after the last bite. Now, isn’t that a flavor combination that’s hard to resist?
An interesting tidbit: the classic red velvet cupcake has long been a favorite, but this minty version takes the cake—pun intended! When I first tried making Mint Velvet Cupcakes, my family ended up devouring them in record time, proving that the way to a man’s heart is indeed through his stomach. If you’re a fan of simplicity and family-friendly recipes, this one will become a staple in your kitchen, just like our popular Chocolate Chip Cookie Recipe. Ready to dive into the magic of baking?
What is Mint Velvet Cupcakes?
So, what’s in a name? Mint Velvet Cupcakes bring together elegance and flavor in a whimsical way. One might wonder why “velvet?” Is it because they are as smooth as a fine silk scarf? Or maybe because they’re so vibrant, they could charm even the pickiest eaters? A playful theory among my friends is that if cupcakes were to attend a gala, these would be the ones with the sparkly bow ties! Whether you’re hosting a casual family gathering or just treating yourself, these cupcakes add a dash of flair that’s hard to resist. So let’s get baking—after all, who doesn’t enjoy a sweet minty surprise?
Why You’ll Love This Mint Velvet Cupcakes
When it comes to desserts, Mint Velvet Cupcakes shine brightly. Their soft, velvety texture coupled with a refreshing mint flavor is a triple threat that delights the taste buds. You can also appreciate the cost-saving benefits of cooking at home. Why pay for overpriced desserts when you can whip up these soft and decadent treats in your own kitchen?
Let’s talk about toppings! Whether you opt for a simple mint frosting or a decadent chocolate ganache, the flavorful layers elevate these cupcakes to the next level. Picture this: you take a bite and the cool mint dances on your tongue, harmonizing perfectly with the chocolatey goodness. It’s an experience that’s even better than indulging in classic brownies. So roll up your sleeves—your Mint Velvet Cupcakes are waiting to be made!
How to Make Mint Velvet Cupcakes
Quick Overview
Mint Velvet Cupcakes are easy to make and are sure to impress friends and family with their beautiful colors and flavors. The best part? You can whip them up in just about 30 minutes, allowing you to revel in the baking process without taking a whole day. The velvety texture combined with the cool mint flavor makes these cupcakes uniquely satisfying.
Ingredients
To make these delightful cupcakes, gather the following ingredients:
- 1 ½ cups all-purpose flour
- 1 cup granulated sugar
- ½ cup unsweetened cocoa powder
- 1 tsp baking soda
- ½ tsp salt
- 1 cup buttermilk
- ½ cup vegetable oil
- 1 large egg
- 1 tsp vanilla extract
- ½ tsp peppermint extract
- Green food coloring (optional)
Step-by-Step Instructions
- Preheat your oven to 350°F (175°C) and line your cupcake tray with paper liners.
- Mix Dry Ingredients: In a large mixing bowl, sift together the all-purpose flour, granulated sugar, cocoa powder, baking soda, and salt until well combined.
- Combine Wet Ingredients: In another bowl, whisk together the buttermilk, vegetable oil, egg, vanilla extract, and peppermint extract. If you’re feeling festive, add a few drops of the green food coloring for that extra minty kick.
- Combine: Gradually fold the wet ingredients into the dry mix. Stir gently until everything is just combined. Be careful not to overmix; we want those minty cupcakes to be airy and light!
- Fill Cupcake Liners: Using a scoop or a spoon, fill each cupcake liner about two-thirds full with batter.
- Bake: Place the tray in the preheated oven and bake for 18-20 minutes, or until a toothpick inserted in the center comes out clean.
- Cool Down: Once done, remove the tray from the oven and let cupcakes cool in the tray for about 5 minutes before transferring them to a wire rack to cool completely.
- Frost and Enjoy: Once completely cool, frost with your choice of mint or chocolate frosting, and enjoy!
Top Tips for Perfecting Mint Velvet Cupcakes
- Ingredient Substitutions: If you don’t have buttermilk, you can create a quick substitute by adding a tablespoon of lemon juice or vinegar to regular milk and letting it sit for 5 minutes.
- Don’t Overmix: A common mistake is overmixing the batter. Mix just until the ingredients are combined for a light texture.
- Room Temperature Ingredients: For best results, ensure your eggs and buttermilk are at room temperature before mixing.
- Level the Oven Racks: If you’re baking multiple trays, make sure the racks are evenly spaced for consistent baking.
Storing and Reheating Tips
To store Mint Velvet Cupcakes, keep them in an airtight container at room temperature for up to 3 days. For longer storage, you can freeze them in a tightly sealed container for up to 2 months. When you’re ready to enjoy them again, simply remove them from the freezer and let them thaw at room temperature, or pop them in the microwave for a few seconds to regain that fresh-out-of-the-oven warmth.
Now that you have this delicious Mint Velvet Cupcake recipe in hand, it’s time to gather your ingredients and bring a touch of minty goodness into your kitchen! Your family will thank you, and I can assure you, these cupcakes will have everyone coming back for seconds!

Frequently Asked Questions
How can I make these cupcakes gluten-free?
You can substitute the all-purpose flour for a gluten-free flour blend.
Can I use a different extract?
Absolutely! If you prefer not to use peppermint, you can use almond or vanilla extract for a different flavor profile.
Are these cupcakes suitable for kids?
Yes! The minty flavor is usually a hit with kids; just watch the amount of food coloring you add.
So, what are you waiting for? Dive into baking and create your Mint Velvet Cupcakes today!
Mint Velvet Cupcakes
Ingredients
Method
- Preheat your oven to 350°F (175°C) and line your cupcake tray with paper liners.
- In a large mixing bowl, sift together the all-purpose flour, granulated sugar, cocoa powder, baking soda, and salt until well combined.
- In another bowl, whisk together the buttermilk, vegetable oil, egg, vanilla extract, and peppermint extract. If desired, add green food coloring.
- Gradually fold the wet ingredients into the dry mix. Stir gently until combined, being careful not to overmix.
- Using a scoop or spoon, fill each cupcake liner about two-thirds full with batter.
- Place the tray in the preheated oven and bake for 18-20 minutes, or until a toothpick inserted in the center comes out clean.
- Once done, remove the tray from the oven and let cupcakes cool in the tray for 5 minutes before transferring them to a wire rack to cool completely.
- Once completely cool, frost with your choice of mint or chocolate frosting, and enjoy!
Notes

I am Mark Luke and I’m the founder of PrinterBio.com. I started this site because I was tired of dealing with the problems that come with using printers. I wanted to help others avoid the time and frustration I had, So I started this site based on my own experience & what I’ve learned from other professionals. My goal is to help you find the right printer and easily solve any problems you may have with your printer.