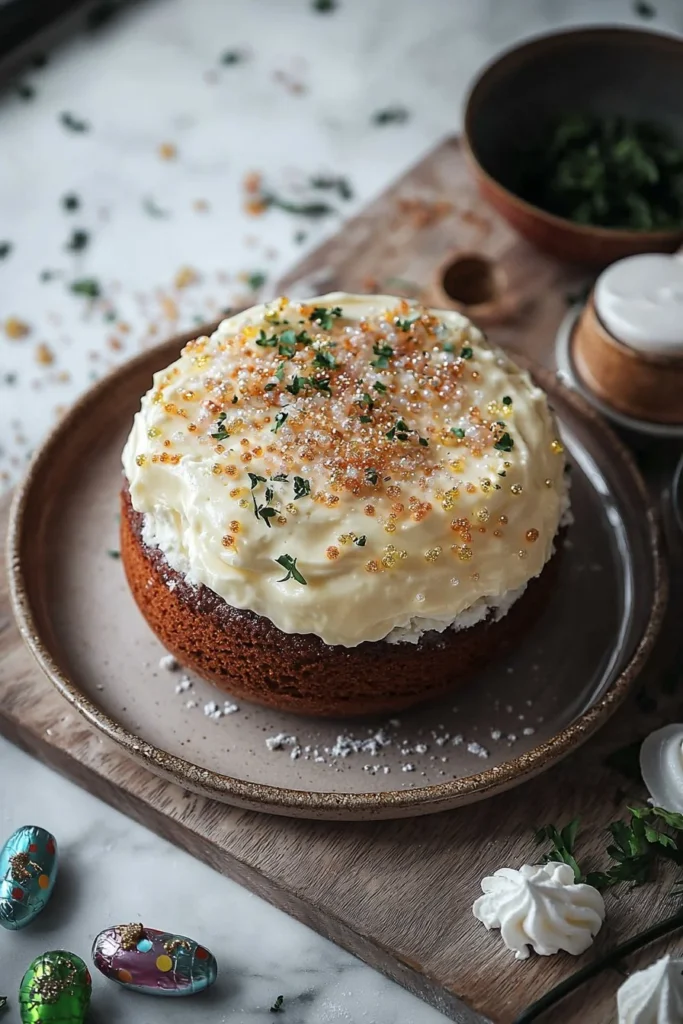
When it comes to celebrating life’s special moments, nothing brings people together quite like a homemade cake. The Jellycat Celebration Cake is a splendidly soft, moist cake sure to please the whole family, with its light sprinkles of sweetness and fluffy texture. Picture this: a wonderfully vibrant creation that’s not only a treat for the taste buds but equally a feast for the eyes. You might even find yourself sneaking a slice just to relish that dreamy combination of flavors.
But what makes it truly special? It’s all about the simplicity! This cake is straightforward enough for beginner bakers but delicious enough to impress even the most discerning cake connoisseurs. On a whim, I once baked this for a family gathering, and it was devoured faster than I could set it on the table! If you’re a fan of my popular chocolate chip cookie recipe, you’ll appreciate this delightful cake just as much!
What is the Jellycat Celebration Cake?
So, what’s in a name? The Jellycat Celebration Cake, a moniker that brings a smile to many, makes you wonder—does it contain jelly? Or perhaps cats? I like to think it’s named after the joy it brings, much like the saying, “the way to a man’s heart is through his stomach.” It’s a whimsical title for a cake that’s playful and pleasing, evoking the aura of joy and togetherness. Make one for your next family gathering and see how it steals the show!
Why You’ll Love This Jellycat Celebration Cake
There are countless reasons to adore this Jellycat Celebration Cake. First off, let’s shine the spotlight on the main dish—its glorious texture and vibrant flavor! It’s like a hug in cake form: warm, comforting, and full of joy. Not only is baking at home cost-effective—saving you that extra cash for topping off your next family outing—but the aromatic smell that fills your kitchen while this cake bakes is worth every minute spent.
If you’ve ever tasted a classic vanilla cake, you’ll find that the Jellycat Celebration Cake takes that deliciousness to a whole new level with its light and enticing flavors. Want to experience this delightful treat? Gather your ingredients and let’s get baking!
How to Make Jellycat Celebration Cake
Quick Overview
Baking the Jellycat Celebration Cake is an exceptionally easy and satisfying process. You’ll love the light, airy texture and the subtle sweetness that dances on your palate. Prep time is just about 20 minutes, making it perfect for those spontaneous celebrations!
Ingredients
- 2 cups all-purpose flour
- 1 1/2 cups granulated sugar
- 1/2 cup unsalted butter, softened
- 1 cup milk
- 3 1/2 teaspoons baking powder
- 1 teaspoon vanilla extract
- 1/2 teaspoon salt
- 3 large eggs
- Your choice of frosting (e.g., buttercream)
- Decorative items (e.g., edible glitter, themed decorations)
Preparation Notes: Ensure all ingredients are at room temperature for a seamless batter mix.
Step-by-Step Instructions
- Preheat Your Oven: Start by preheating your oven to 350°F (175°C) and greasing your cake pans to prevent sticking.
- Mix the Dry Ingredients: In a bowl, combine the flour, baking powder, and salt. Whisk well to ensure even distribution.
- Cream the Butter and Sugar: In a large mixing bowl, cream the softened butter and granulated sugar together until light and fluffy.
- Add the Eggs: Beat in the eggs one at a time, ensuring they’re fully incorporated before adding the next.
- Combine Wet and Dry Ingredients: Alternately add the milk and the flour mixture to the butter-sugar-egg mix, beginning and ending with the flour. Mix until just combined, then stir in the vanilla extract.
- Pour and Bake: Divide the batter equally between the prepared pans, smoothing the tops. Bake for 25-30 minutes or until a toothpick comes out clean when inserted in the center.
- Cool the Cakes: Once baked, allow them to cool in the pans for about 10 minutes before transferring them to a wire rack to cool completely.
- Frosting Time: Once the cakes are completely cool, frost your choice of frosting on top and decorate as desired with edible glitter or themed decorations.
Top Tips for Perfecting Jellycat Celebration Cake
- Substitutions: If you prefer a dairy-free option, substitute the regular milk for almond milk. Just make sure your frosting is also dairy-free if that’s a concern!
- Timing: Keep an eye on your cakes as they bake. Don’t wait too long beyond the recommended time to avoid dryness.
- Avoiding Mistakes: Make sure not to overmix your batter after adding the flour, or you might end up with a dense cake. Mix just enough until incorporated!
Storing and Reheating Tips
To store your Jellycat Celebration Cake, wrap it tightly with plastic wrap and keep it in the refrigerator. This will help maintain its freshness for up to a week. If you have leftovers (which is rare), you can freeze slices for up to a month—just ensure they are wrapped well to prevent freezer burn!
When you’re ready to enjoy again, let it thaw in the fridge overnight or take it out of the freezer and let it sit at room temperature for a couple of hours. A quick pop in the microwave for about 10-15 seconds can help regain that fresh-from-the-oven warmth!
FAQs

Can I customize the flavors?
Absolutely! Feel free to add in chocolate chips, fruit, or even nuts to mix up the flavors a bit!
What type of frosting works best?
A classic buttercream works wonders, but you can easily use cream cheese frosting for a tangier twist.
Ready to bake your own Jellycat Celebration Cake? Gather those ingredients, roll up your sleeves, and prepare for the delightful aromas and sweet indulgences that await! Whether it’s a family gathering or simply a cozy evening at home, this cake is a guaranteed crowd-pleaser. Happy baking!
Jellycat Celebration Cake
Ingredients
Method
- Preheat your oven to 350°F (175°C) and grease your cake pans to prevent sticking.
- In a bowl, combine the flour, baking powder, and salt. Whisk well to ensure even distribution.
- In a large mixing bowl, cream the softened butter and granulated sugar together until light and fluffy.
- Beat in the eggs one at a time, ensuring they’re fully incorporated before adding the next.
- Alternately add the milk and the flour mixture to the butter-sugar-egg mix, beginning and ending with the flour. Mix until just combined, then stir in the vanilla extract.
- Divide the batter equally between the prepared pans, smoothing the tops. Bake for 25-30 minutes or until a toothpick comes out clean when inserted in the center.
- Once baked, allow the cakes to cool in the pans for about 10 minutes before transferring them to a wire rack to cool completely.
- Once the cakes are completely cool, frost your choice of frosting on top and decorate as desired with edible glitter or themed decorations.
Notes

I am Mark Luke and I’m the founder of PrinterBio.com. I started this site because I was tired of dealing with the problems that come with using printers. I wanted to help others avoid the time and frustration I had, So I started this site based on my own experience & what I’ve learned from other professionals. My goal is to help you find the right printer and easily solve any problems you may have with your printer.