There’s something so heartwarming about the aroma of fresh apples baking in the oven, mixed with cinnamon and sugar. The scent wafting through your kitchen can instantly transport you to cozy family gatherings or chilly winter evenings, where everyone comes together to enjoy heartwarming meals. One of my favorite go-to recipes for these occasions is The Best Homemade Apple Crisp. A true testament to comfort food, this delightful dish is a vibrant combination of tender apples and a crispy, buttery topping that creates the perfect balance of textures and flavors.
Each bite bursts with sweetness and warmth, making it impossible to resist. Did you know that chilling an apple before baking it can enhance the crispiness? This processed dish may be somewhat less well-known compared to its cousin, apple pie, but let me assure you, it’s just as beloved! In fact, the old saying goes: “the way to a man’s heart is through his stomach,” and I believe this dessert can win over anyone’s heart. So, let’s dive into this delicious recipe that makes sharing easier and fun for all!
What is The Best Homemade Apple Crisp?
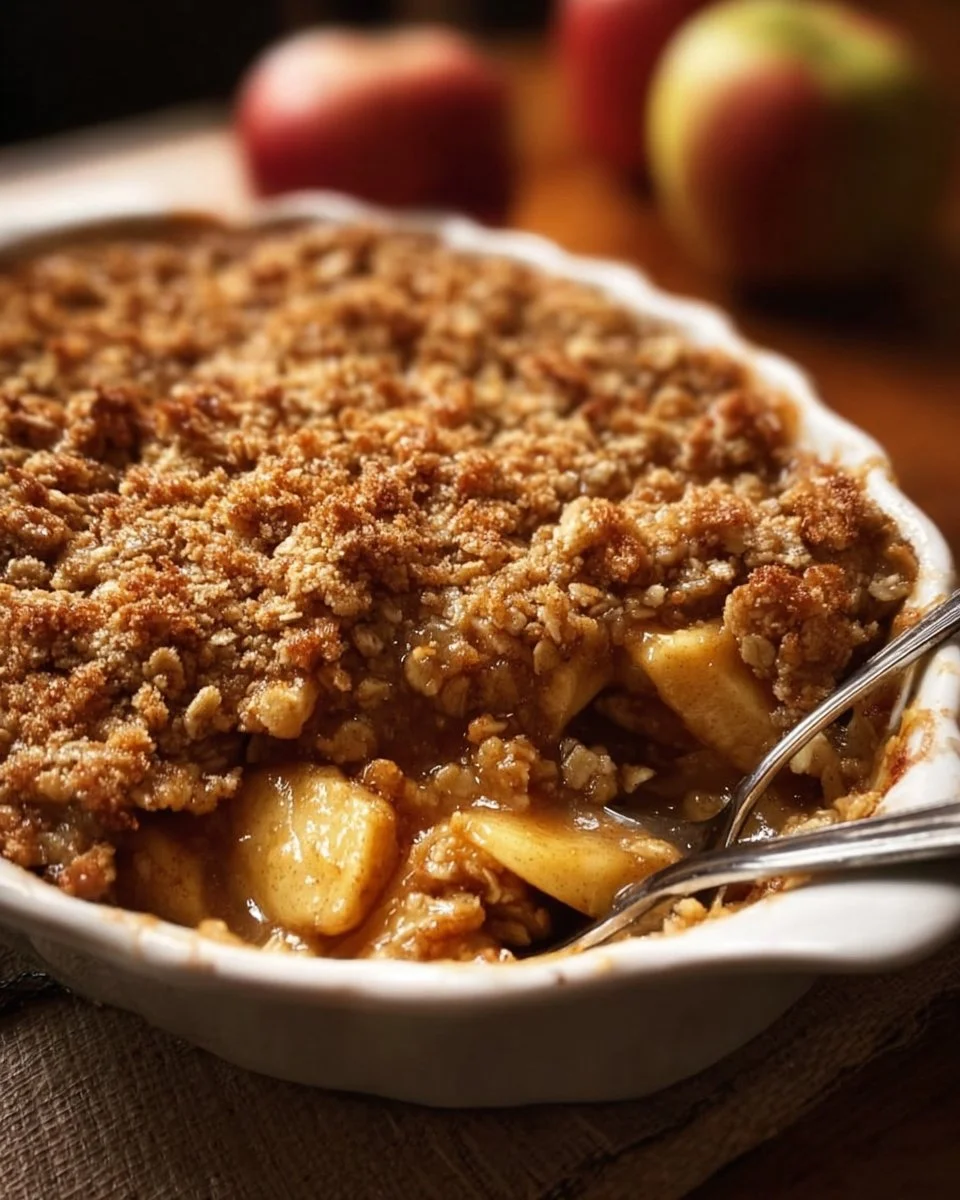
So, what exactly is this thing we call The Best Homemade Apple Crisp? Essentially, it’s a delicious dessert featuring baked apples topped with a crunchy, sweet, and buttery topping. Have you ever wondered why it’s designated as “the best”? Perhaps it’s the way the crisp topping contrasts with the tender, warm apples beneath—or maybe it’s just the smiles it brings to your family’s faces when served warm out of the oven! I often joke with my friends, “A straight-up apple pie is great, but you can’t scoop it into a bowl and dig in like you can with crisp!”
So, dust off your baking dish, grab those apples, and let’s make something spectacular!
Why You’ll Love This The Best Homemade Apple Crisp
First and foremost, The Best Homemade Apple Crisp is the epitome of easy comfort food. You’ll love how simple it is to bring this dessert together, making it a fantastic addition to any family dinner or casual gathering. Plus, creating this dish at home is a cost-saving option compared to buying desserts from bakeries. It allows you to enjoy a homemade treat without breaking the bank!
But wait, there’s more! The flavor options are endless. You could top it off with vanilla ice cream, whipped cream, or even a sprinkle of nuts for an added crunch. Imagine each spoonful sending out waves of cinnamon-rich aroma—both warming and inviting! If you think it can’t be better than cake, you’ve yet to try this. So why not roll up your sleeves and whip up a batch today?
How to Make The Best Homemade Apple Crisp
Quick Overview
Whether you’re an adept baker or a kitchen novice, The Best Homemade Apple Crisp is an easy-peasy recipe that promises satisfaction. In just about 15 minutes of prep time and roughly 30 minutes in the oven, you’ll have a dish that tantalizes your taste buds with its inviting texture.
Ingredients
- 6 cups sliced apples (about 6-8 medium apples)
- 1 cup granulated sugar
- 1 tablespoon lemon juice
- 1 teaspoon cinnamon
- 1 cup rolled oats
- 1 cup all-purpose flour
- 1/2 cup brown sugar
- 1/2 cup butter, melted
- 1/2 teaspoon salt
Step-by-Step Instructions
- Preheat the Oven: Set the oven to 350°F (175°C) to preheat while you prepare the ingredients.
- Prepare the Apples: In a large bowl, toss the sliced apples with lemon juice, granulated sugar, and cinnamon until they’re well-coated.
- Layer in a Baking Dish: Pour the apple mixture into a greased 9×13 inch baking dish, spreading it evenly.
- Mix the Topping: In a separate bowl, combine the rolled oats, flour, brown sugar, melted butter, and salt. Stir until everything is coated in butter and crumbly.
- Top It Off: Spread the topping evenly over the apple mixture in the baking dish.
- Bake: Bake in the preheated oven for about 30-35 minutes, or until the apples are bubbly and the topping is golden brown.
- Serve and Enjoy: Let it cool for a few minutes before serving warm, ideally with a scoop of vanilla ice cream on top!
Top Tips for Perfecting The Best Homemade Apple Crisp
- Apples Matter: For the best flavor, use a mix of tart and sweet apples like Granny Smith and Honeycrisp. This will enhance the overall taste and texture profile of your crisp.
- Ingredient Swaps: If you’re looking to reduce sugar, consider substituting with a sugar alternative or applesauce. This still keeps the dessert deliciously sweet!
- Avoiding Sogginess: Ensure your apples are fresh and not overly ripe to prevent a watery texture.
- Timing: If you want the perfect crisp topping, cover the baking dish with foil for the first 20 minutes of baking to prevent over-browning.
Storing and Reheating Tips
After the family gathering, you might find leftovers of your delicious The Best Homemade Apple Crisp. To store it, cover the dish with foil or plastic wrap and refrigerate for up to 3 days. If you wish to save it for later, you can freeze it for up to 3 months before baking. To reheat, simply put your apple crisp back in a preheated oven at 350°F (175°C) for about 20 minutes or until warmed. You want that wonderful crunchy topping to maintain its texture—and the aroma is sure to beckon family members back to the kitchen for more!
In conclusion, The Best Homemade Apple Crisp is more than just a recipe; it’s an experience that warms the heart and brings families together. With its simple preparation and delightful flavors, it holds a special place in every recipe collection. So what are you waiting for? Grab those apples and bake up some love today!

Apple Crisp
Ingredients
Method
- Preheat the oven to 350°F (175°C).
- In a large bowl, toss the sliced apples with lemon juice, granulated sugar, and cinnamon until well-coated.
- Pour the apple mixture into a greased 9x13 inch baking dish, spreading it evenly.
- In a separate bowl, combine the rolled oats, flour, brown sugar, melted butter, and salt. Stir until everything is coated in butter and crumbly.
- Spread the topping evenly over the apple mixture in the baking dish.
- Bake in the preheated oven for about 30-35 minutes, or until the apples are bubbly and the topping is golden brown.
- Let it cool for a few minutes before serving warm, ideally with a scoop of vanilla ice cream on top.
Notes

I am Mark Luke and I’m the founder of PrinterBio.com. I started this site because I was tired of dealing with the problems that come with using printers. I wanted to help others avoid the time and frustration I had, So I started this site based on my own experience & what I’ve learned from other professionals. My goal is to help you find the right printer and easily solve any problems you may have with your printer.