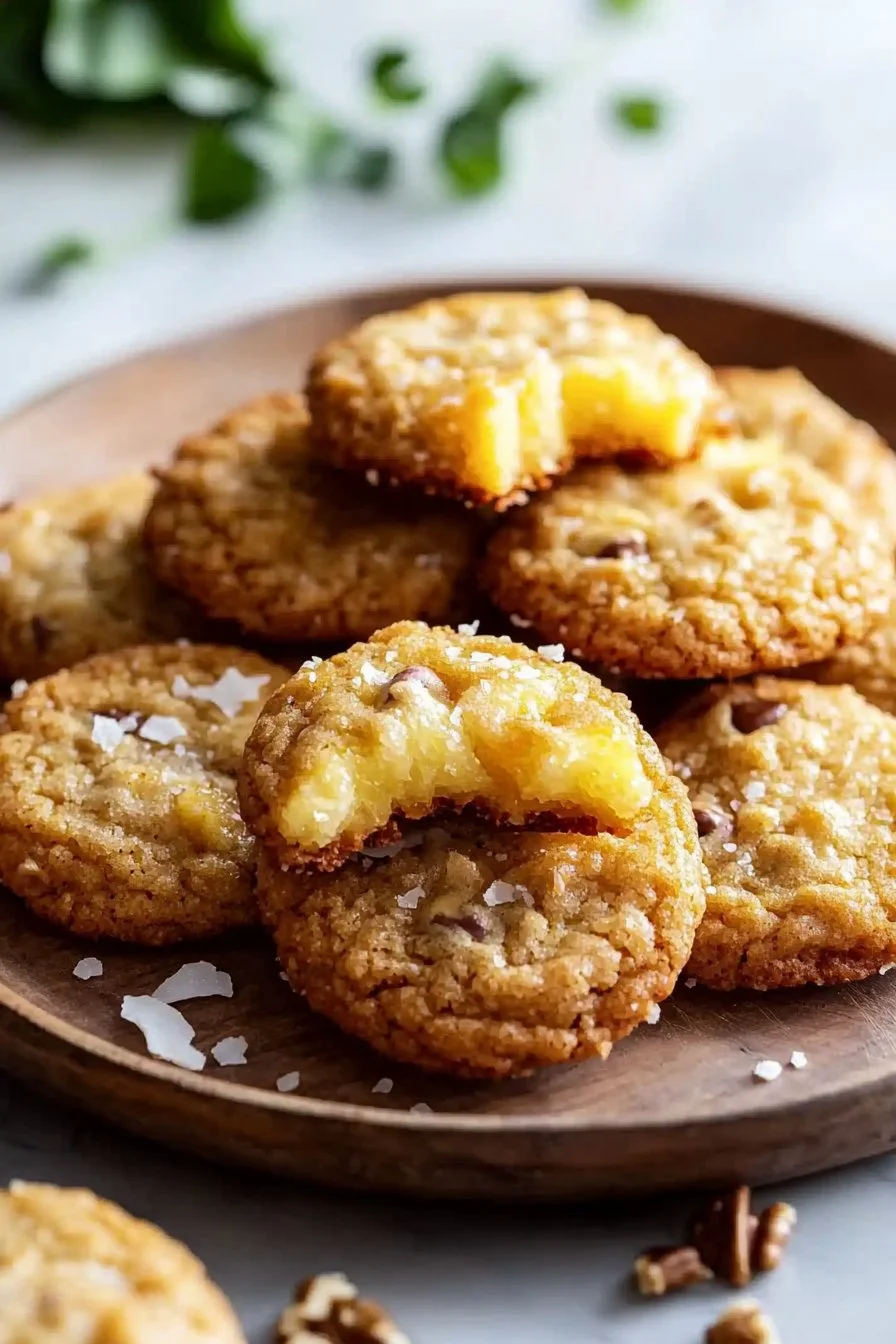
Imagine biting into a sweet, chewy cookie that bursts with the tropical flavor of pineapple, all while being delightfully crisp on the edges. That’s the allure of Pineapple Cookies! These bites of sunshine not only bring a smile to your face but also fill your home with the irresistible aroma of freshly baked treats.
I fondly recall the first time I tried these cookies at my friend’s family gathering. Everyone was gathered around, sharing stories and enjoying delicious food, but it was the Pineapple Cookies that stole the show. The laughter, warm conversations, and that memorable crunch made an impression on my heart and palate. It’s incredible to think how a simple recipe can bring people together!
If you’ve ever enjoyed the popular coconut macaroons but yearned for a slightly different twist, these Pineapple Cookies offer just that! With their amazing texture and flavor, I can’t wait to share this simple yet special recipe with you. So, let’s get baking!
What are Pineapple Cookies?
So, what exactly are Pineapple Cookies? You might wonder if they’re magical little morsels from a tropical paradise or something else entirely! Well, they’re cookies filled with crushed pineapple and goodness! I can just picture someone asking, “Why pineapple?” Perhaps they’ll tell you, “The way to a man’s heart is through his stomach!” These cookies are not only delicious but also bring joy and comfort in every bite.
Just imagine enjoying these delightful confections with your family gathered around in laughter and love! Sounds tempting, doesn’t it? Give them a try, and you won’t be disappointed!
Why You’ll Love This Pineapple Cookies
Let me tell you why these Pineapple Cookies deserve a place in your home. For one, the flavor profile is unrivaled! The combination of sweet pineapple and buttery goodness creates a treat that’s both refreshing and satisfying. Plus, you’ll save money by baking at home instead of purchasing expensive bakery items.
Why buy a coconut cream pie when you can whip up these Pineapple Cookies that have similarities in taste but offer a unique tropical twist? They’ll excite your taste buds and have your friends and family coming back for more. Don’t wait—let’s dive into this delightful adventure!
How to Make Pineapple Cookies
Quick Overview
Creating Pineapple Cookies is an incredibly easy and satisfying endeavor. Preparing this recipe takes about 20 minutes, plus extra time for baking. With a melt-in-your-mouth texture and a hint of sweetness from the fruit, soon you’ll find yourself craving these cookies all season long!
Ingredients
To make these delightful Pineapple Cookies, you will need:
- 1 cup crushed pineapple, drained
- 1 cup sugar
- 1 cup butter, softened
- 2 cups all-purpose flour
- 1 teaspoon baking soda
- 1/2 teaspoon salt
- 1 teaspoon vanilla extract
- 1/2 cup chopped walnuts (optional)
- 1/2 cup shredded coconut (optional)
Preparation Notes: Make sure your pineapple is well-drained; excess moisture can alter the texture of the cookies.
Step-by-Step Instructions
- Preheat the Oven: Preheat your oven to 350°F (175°C) while you gather your ingredients.
- Cream the Butter and Sugar: In a mixing bowl, combine the softened butter and sugar. Beat them together until the mixture is light and fluffy.
- Add Pineapple and Vanilla: Slowly mix in the crushed pineapple and vanilla extract until everything is well combined.
- Combine Dry Ingredients: In a separate bowl, whisk together the flour, baking soda, and salt. Gradually add this dry mixture into the wet ingredients, stirring until just combined.
- Optional Add-Ins: If you’re feeling adventurous, fold in the chopped walnuts and shredded coconut for added flavor and texture.
- Scoop and Bake: Drop spoonfuls of cookie dough onto a lined baking sheet, spacing them about two inches apart. Bake in the preheated oven for 12-15 minutes or until the edges are golden brown.
- Cool and Enjoy: Allow the cookies to cool on the baking sheet for a few minutes before transferring them to a wire rack. Enjoy your homemade Pineapple Cookies warm or at room temperature!
Top Tips for Perfecting Pineapple Cookies
- Substitutions: If you’re looking for a nut-free option, leave out the walnuts, or try adding dried fruits like raisins or apricots.
- Timing: Keep a close eye while baking! Since ovens can vary, check your cookies a couple of minutes before the recommended time.
- Common Mistakes: Don’t overmix the dough once you add the flour; this could lead to dense cookies rather than tender ones.
Storing and Reheating Tips
Once those delicious Pineapple Cookies are out of the oven, you’ll want to save some for later (if they last that long!). Store them in an airtight container at room temperature for up to 5 days. For longer storage, freeze the cookies in an airtight bag for up to 3 months.
To reheat, preheat your oven to 300°F (150°C) and place the cookies on a baking sheet for about 5 minutes. This will restore their warmth and keep them soft and chewy!
In conclusion, these Pineapple Cookies are more than just a dessert; they’re a way to bring family and friends together around the table. Easy to make, delightful to eat, and absolutely rewarding—your next family gathering won’t be complete without them. Gather your ingredients and give this tasty recipe a try! You won’t regret it!

Pineapple Cookies
Ingredients
Method
- Preheat your oven to 350°F (175°C) while you gather your ingredients.
- In a mixing bowl, combine the softened butter and sugar. Beat them together until the mixture is light and fluffy.
- Slowly mix in the crushed pineapple and vanilla extract until everything is well combined.
- In a separate bowl, whisk together the flour, baking soda, and salt. Gradually add this dry mixture into the wet ingredients, stirring until just combined.
- If you’re feeling adventurous, fold in the chopped walnuts and shredded coconut for added flavor and texture.
- Drop spoonfuls of cookie dough onto a lined baking sheet, spacing them about two inches apart.
- Bake in the preheated oven for 12-15 minutes or until the edges are golden brown.
- Allow the cookies to cool on the baking sheet for a few minutes before transferring them to a wire rack.
Notes

I am Mark Luke and I’m the founder of PrinterBio.com. I started this site because I was tired of dealing with the problems that come with using printers. I wanted to help others avoid the time and frustration I had, So I started this site based on my own experience & what I’ve learned from other professionals. My goal is to help you find the right printer and easily solve any problems you may have with your printer.