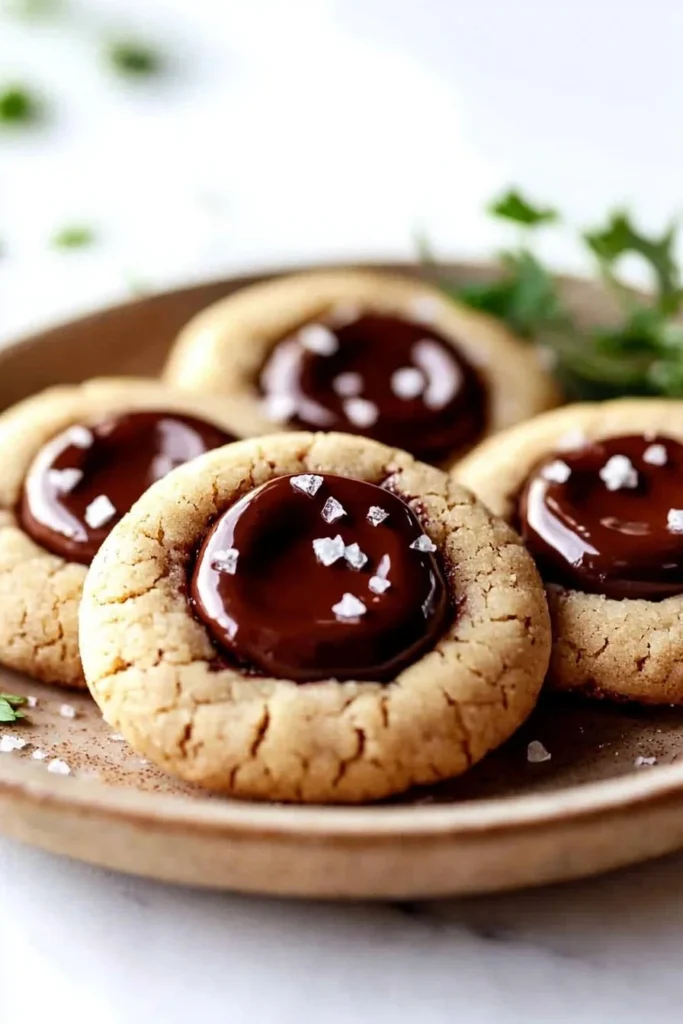
There’s nothing quite like the experience of biting into a freshly baked cookie that is both chewy and rich, with a delightful chocolatey surprise waiting in the center. If you’ve never tried chocolate thumbprint cookies, get ready for a treat that will spark joy at every family gathering! These delectable morsels are not just another chocolate cookie; they’re a nostalgic delight with a story. Legend has it that the name “thumbprint” comes from the 19th century when bakers would press their thumbs into the dough to create a perfect well for the filling. Isn’t it fascinating how something as simple as a thumbprint could turn into a beloved cookie tradition?
If you’re a fan of our Lemon Crinkle Cookie recipe, you’re in for a delightful experience with this one as well! The ease of preparation, combined with the rich flavors, makes Best Chocolate Thumbprint Cookies a must-try. Read on to impress your loved ones with this simple yet impressive treat that’s perfect for any occasion!
What is Best Chocolate Thumbprint Cookies?
So, what’s the deal with thumbprint cookies anyway? The fun twist here is that they are not just a cookie; they are a blank canvas for whatever delicious chocolate filling you desire. I sometimes wonder if the name was inspired by the ages-old adage that “the way to a man’s heart is through his stomach.” Why not put that theory to the test with these delightful chocolaty bites? Picture this: a warm, gooey center surrounded by a tender chocolate cookie, making every bite a little moment of bliss. I invite you to whip up a batch and bring a smile to your family’s faces!
Why You’ll Love This Best Chocolate Thumbprint Cookies
These Best Chocolate Thumbprint Cookies truly shine as a fantastic dessert option! Not only are they easy to whip up, but they also save you money compared to store-bought treats. Have you ever noticed how homemade cookies taste ten times better? That’s because you’re in control of the quality ingredients, which means you achieve a wonderfully rich flavor that beats any bakery version.
When you take a bite, you’ll savor the chocolatey goodness melting in your mouth, paired with the sweetness of your favorite filling. Think about it: who wouldn’t love to indulge in these cookies instead of reaching for generic store-bought ones? Gather your loved ones in the kitchen, and let’s make some memories while baking!
How to Make Best Chocolate Thumbprint Cookies
Quick Overview
The beauty of these Best Chocolate Thumbprint Cookies lies in their simplicity. With just a handful of ingredients and a straightforward process, these cookies come together in about 15 minutes of prep time and about 10-12 minutes of baking at 350°F (175°C). The result? Perfectly chewy cookies with rich, chocolaty bites, thanks to the chocolate filling!
Ingredients
- 1 cup unsalted butter, softened
- 1 cup granulated sugar
- 2 large eggs
- 1 teaspoon vanilla extract
- 2 cups all-purpose flour
- 1/2 cup unsweetened cocoa powder
- 1/2 teaspoon baking powder
- 1/4 teaspoon salt
- 1/2 cup chocolate chips (for filling)
These ingredients are not only delightful but also easy to find, ensuring that you can make this recipe in no time.
Step-by-Step Instructions
- Preheat Oven: Start by preheating your oven to 350°F (175°C). Line a baking sheet with parchment paper for easy cleanup.
- Cream Butter and Sugar: In a large mixing bowl, cream together the softened butter and granulated sugar using an electric mixer until light and fluffy (about 3-5 minutes).
- Add Eggs and Vanilla: Gradually add the eggs, one at a time, mixing well after each addition. Stir in the vanilla extract.
- Mix Dry Ingredients: In a separate bowl, whisk together the all-purpose flour, cocoa powder, baking powder, and salt until well combined.
- Combine Mixtures: Slowly incorporate the dry ingredients into the wet ingredients, mixing until just combined. Be careful not to overmix.
- Shape Cookies: Using a tablespoon or small cookie scoop, portion out the dough onto your prepared baking sheet. Make a small indentation in the center of each ball using your thumb (or the back of a measuring spoon).
- Add Chocolate Chips: Fill each indentation with approximately 1-2 chocolate chips, depending on your preference.
- Bake: Bake in the preheated oven for 10-12 minutes, or until the edges are firm but the centers are still slightly soft.
- Cool: Allow them to cool on the baking sheet for 5 minutes before transferring them to a wire rack to cool completely.
- Enjoy: Once cooled, indulge in your delicious Best Chocolate Thumbprint Cookies with friends or family!
Top Tips for Perfecting Best Chocolate Thumbprint Cookies
- Substitutions: If you need a dairy-free option, consider using vegan butter instead of unsalted butter. For a gluten-free version, try using a 1:1 gluten-free flour blend for similar results.
- Timing: Make sure you don’t overbake. The cookies will firm up as they cool, so a slightly underbaked cookie will still be perfect!
- Common Mistakes: Ensure you soften your butter properly. If it’s too cold, it won’t cream well with the sugar and may result in dense cookies.
Storing and Reheating Tips
Store your Best Chocolate Thumbprint Cookies in an airtight container at room temperature for up to one week for optimal freshness. If you have leftover cookies, you can freeze them for up to three months. Just make sure to layer them with parchment paper to avoid sticking. To reheat, pop them in the microwave for about 10 seconds or enjoy them cold—either way, they are a delightful treat!
Are you ready to create delicious memories and savor the rich flavors of these Best Chocolate Thumbprint Cookies? Gather your ingredients, invite your loved ones to join you in the kitchen, and let’s get baking!

FAQs
Q: Can I substitute the chocolate chips in the filling?
A: Absolutely! Feel free to experiment with nut butter, jam, or even a different kind of chocolate.
Q: How can I make these cookies more festive?
A: For a fun twist, add some colorful sprinkles on top after you fill them with chocolate chips!
Enjoy your time baking and sharing these flavorful cookies with the ones you love!
Best Chocolate Thumbprint Cookies
Ingredients
Method
- Preheat your oven to 350°F (175°C). Line a baking sheet with parchment paper.
- In a large mixing bowl, cream together the softened butter and granulated sugar using an electric mixer until light and fluffy (about 3-5 minutes).
- Gradually add the eggs, one at a time, mixing well after each addition. Stir in the vanilla extract.
- In a separate bowl, whisk together the all-purpose flour, cocoa powder, baking powder, and salt until well combined.
- Slowly incorporate the dry ingredients into the wet ingredients, mixing until just combined. Be careful not to overmix.
- Using a tablespoon or small cookie scoop, portion out the dough onto your prepared baking sheet. Make a small indentation in the center of each ball using your thumb.
- Fill each indentation with approximately 1-2 chocolate chips, depending on your preference.
- Bake in the preheated oven for 10-12 minutes, or until the edges are firm but the centers are still slightly soft.
- Allow cookies to cool on the baking sheet for 5 minutes before transferring to a wire rack to cool completely.
- Once cooled, enjoy your delicious Best Chocolate Thumbprint Cookies!
Notes

I am Mark Luke and I’m the founder of PrinterBio.com. I started this site because I was tired of dealing with the problems that come with using printers. I wanted to help others avoid the time and frustration I had, So I started this site based on my own experience & what I’ve learned from other professionals. My goal is to help you find the right printer and easily solve any problems you may have with your printer.