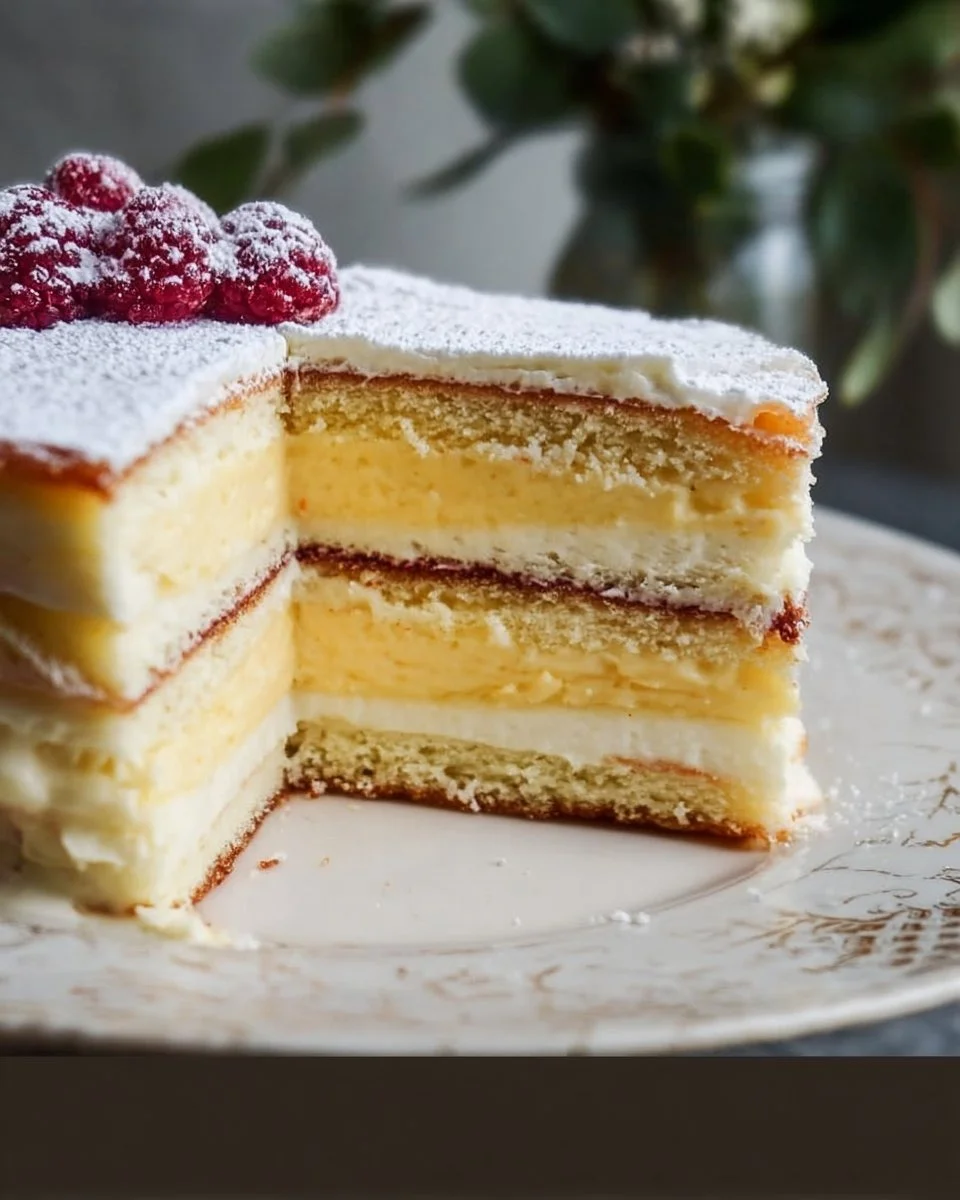
Imagine slicing into a cake that sports layers of fluffy goodness, perfectly balanced flavors, and a delightful crunch—welcome to the world of Danish Layer Cake! This enchanting dessert has a rich heritage and promises to whisk you away on a flavor adventure. Did you know that this cake has tantalized taste buds for generations? Families gather, sharing stories, laughs, and, of course, this delectable dessert at their hospitality tables! If you love a cake that’s both visually appealing and absolutely mouth-watering, this is the dream dessert. If you’ve enjoyed our popular Vanilla Buttercream Cupcakes, you’re in for a treat with this cake; it shares that delightful sweetness but adds a charming layered twist. Easy to make and easier to love, this cake is perfect for family gatherings or those cozy winter evenings.
What is Danish Layer Cake?
So, what’s the story behind the Danish Layer Cake? It seems almost too simple as a name, right? You might wonder if it involves a Dutch layer or even a Scandinavian twist! Here’s the juicy bit: this cake originated in Denmark, where it became a beloved staple at gatherings. And let’s be real—everyone knows that the way to a man’s heart is through his stomach, right? Whether you’re celebrating a family dinner or just indulging yourself (we won’t tell!), this cake is sure to win hearts and taste buds alike. So, why not roll up your sleeves and start baking? Your kitchen deserves a sprinkle of happiness with this heavenly treat!
Why You’ll Love This Danish Layer Cake
Let’s dig into three fabulous reasons you’ll fall in love with Danish Layer Cake. First off, the cake itself is the star of the show. It boasts a tender and moist crumb with a rich buttery essence that dances harmoniously with every topping. Second, why order a pricey dessert from a bakery when you can impress your loved ones at home without breaking the bank? Baking it yourself brings a certain pride that a store-bought cake just can’t match. Finally, the toppings are an artist’s palette! From an array of fresh fruits to slathers of whipped cream, you can personalize it to suit any palate. Compare it to a simple sponge cake, and you’ll find this layered beauty takes the whole experience to another level! Ready to elevate your dessert game?
How to Make Danish Layer Cake
Quick Overview
Creating the Danish Layer Cake is a delightful endeavor that’s both easy and rewarding. With a preparation time of approximately 30 minutes and baking time of 25 minutes, you’re well on your way to a mouth-watering treat that delights the senses. The tender layers melt in your mouth while the sweet toppings bring an added dimension. It’s a cake that everyone can tackle!
Ingredients for Danish Layer Cake
- 2 cups all-purpose flour
- 1 1/2 cups granulated sugar
- 1 cup unsalted butter, softened
- 4 large eggs
- 1 cup milk
- 1 tablespoon baking powder
- 1 teaspoon vanilla extract
- 1/2 teaspoon salt
- Frosting or whipped cream for layering
- Fresh fruits (like berries or bananas) or nuts for decoration
Preparation Notes: Ensure all your ingredients are at room temperature for the best results.
Step-by-Step Instructions
- Preheat the Oven: Begin by preheating your oven to 350°F (175°C). Greasing the cake pans is also crucial; grease and lightly flour them or use parchment paper for easier release!
- Mix Dry Ingredients: In a bowl, combine the flour, baking powder, and salt. Set this mixture aside for now.
- Cream Butter and Sugar: In a large mixing bowl, beat together the softened butter and granulated sugar until light and fluffy. This usually takes about 5 minutes.
- Add Eggs and Vanilla: Beat in the eggs, one at a time, ensuring each is fully incorporated before adding the next. Mix in the vanilla extract.
- Combine Wet and Dry: Alternately add the flour mixture and milk to the butter mixture, starting and ending with the flour. Mix just until combined; overmixing can make the cake dense.
- Bake: Divide the batter evenly between the prepared cake pans. Bake for 25-30 minutes, or until a toothpick inserted into the center comes out clean.
- Cool: Allow the cakes to cool in their pans for about 10 minutes before transferring to wire racks to cool completely.
- Layer and Frost: Once cooled, place one cake layer on a serving plate, spread frosting or whipped cream, and top with fruits or nuts. Repeat this for the next layers. Finish by decorating the top layer!
- Serve: Slice, serve, and enjoy your charming Danish Layer Cake with family and friends!
Top Tips for Perfecting Danish Layer Cake
- For a denser texture, try substituting half of the all-purpose flour with cake flour.
- If you want a flavored twist, consider adding citrus zest to the batter.
- Ensure measurements are accurate, especially for flour. Spoon it into the measuring cup rather than scooping directly to avoid compacting it.
- Watch the cakes closely towards the end of the baking time to prevent overbaking; every oven is different!
Storing and Reheating Tips
To properly store your Danish Layer Cake, keep it in an airtight container in the refrigerator. It will last up to a week. If you’d like to freeze it, wrap individual layers in plastic wrap, followed by aluminum foil, and freeze for up to 3 months. To enjoy, thaw in the refrigerator, then let the cake sit at room temperature for about 30 minutes before serving to regain its delightful texture.
Conclusion
Your journey into the delightful realm of Danish Layer Cake awaits! With its fluffy layers, customizable toppings, and a rich heritage, this cake isn’t just a dessert; it’s a love letter to your taste buds. Why wait? Start baking today and create sweet memories with your family that will last a lifetime!
Frequently Asked Questions
- Can I make this cake gluten-free?
Absolutely! Use a gluten-free all-purpose flour blend that includes xanthan gum. - What fruits pair best with this cake?
Fresh berries, bananas, or even diced peaches add luscious flavors that shine! - Can I make this cake in advance?
Yes, the cake layers can be baked ahead and frozen. Just layer and frost them before serving.
Happy Baking! Enjoy your homemade Danish Layer Cake!

Danish Layer Cake
Ingredients
Method
- Preheat the oven to 350°F (175°C) and grease the cake pans.
- In a bowl, mix together the flour, baking powder, and salt. Set aside.
- In a large mixing bowl, cream the softened butter and granulated sugar until light and fluffy (about 5 minutes).
- Add eggs one at a time, mixing well after each addition. Then mix in vanilla extract.
- Gradually add the flour mixture and milk to the butter mixture, starting and ending with flour. Mix just until combined.
- Divide the batter evenly between prepared cake pans and bake for 25-30 minutes or until a toothpick inserted in the center comes out clean.
- Let the cakes cool in their pans for about 10 minutes before transferring to wire racks to cool completely.
- Once cooled, place one cake layer on a serving plate, spread with frosting or whipped cream, and top with fruits or nuts. Repeat the layering.
- Decorate the top layer and serve your Danish Layer Cake with family and friends.
Notes

I am Mark Luke and I’m the founder of PrinterBio.com. I started this site because I was tired of dealing with the problems that come with using printers. I wanted to help others avoid the time and frustration I had, So I started this site based on my own experience & what I’ve learned from other professionals. My goal is to help you find the right printer and easily solve any problems you may have with your printer.