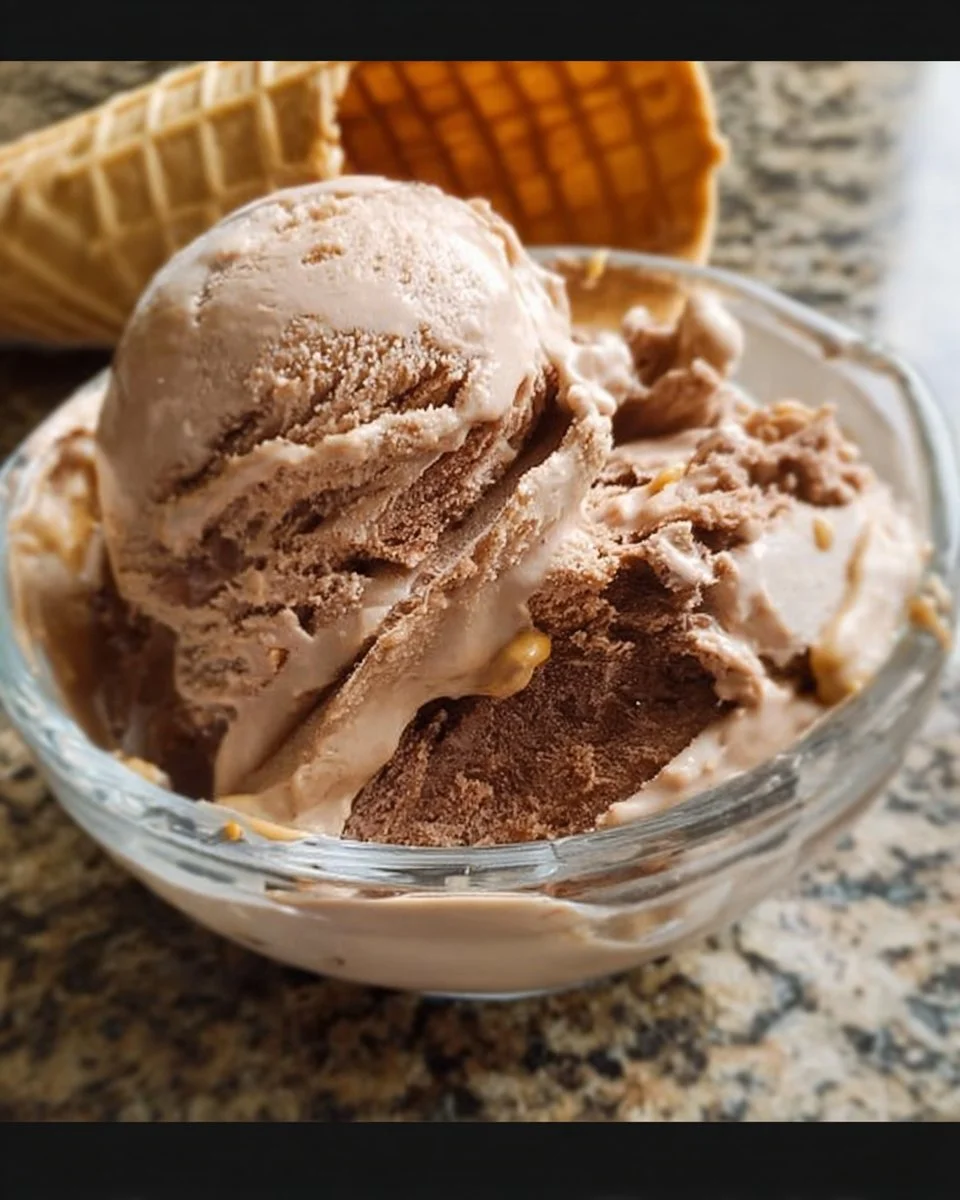
When the sun is high, and the family gathers for a warm afternoon, nothing beats the delightful richness of No Churn Chocolate Peanut Butter Ice Cream! Imagine a creamy concoction that melts in your mouth, combining the irresistible flavors of chocolate and peanut butter. It’s a dessert so simple that even the kids can lend a hand! Fun fact: Did you know that ice cream was so loved that it made its way into the hearts of American presidents? This recipe takes the love for ice cream to the next level—no ice cream maker required!
This No Churn Chocolate Peanut Butter Ice Cream is perfect for those lazy summer days or cozy family gatherings in winter. With just a few ingredients, it delivers an indulgent treat that beats any store-bought flavor. If you’ve ever tried my popular Vanilla Coconut Ice Cream, you’ll know I firmly believe in simplicity and deliciousness. Are you ready to impress your family with this dreamy recipe? Let’s scoop into the details!
What is No Churn Chocolate Peanut Butter Ice Cream?
So, what’s the deal with “no churn”? Well, it means that you can skip the ice cream machine entirely and still create a silky smooth dessert that will have everyone begging for seconds. Honestly, who came up with this genius idea? Could it be that clever kitchen aficionado who realized that the way to a man’s heart is through his stomach? Legend has it that this recipe was born in a whirlwind of cravings and needing something delicious without the hassle.
The great thing about this No Churn Chocolate Peanut Butter Ice Cream is that it’s just as comforting as a warm bowl of chocolate chip cookies—minus all the fuss! Whether it’s a chilly night or a family gathering that turns into a mini ice cream party, this treat is sure to bring a smile. Ready to dive in? Let’s get started!
Why You’ll Love This No Churn Chocolate Peanut Butter Ice Cream
First off, let’s talk about the rich, creamy texture that brings you a taste of heaven with every scoop. This No Churn Chocolate Peanut Butter Ice Cream holds its own against any store-bought version, leaving you craving more. Secondly, whipping up this delightful treat is cost-effective! Imagine the savings from ditching those overpriced pints at the grocery store!
And let’s not forget the fun toppings! Drizzle extra chocolate syrup, toss on crushed nuts, or sprinkle your favorite sprinkles for a colorful flair—all while adding layers of flavor to your ice cream experience. It’s similar to other comfort desserts, like No-Bake Cheesecake, where the simplicity and freshness all come together. So why not gather the family, roll up your sleeves, and make this sensational treat at home?
How to Make No Churn Chocolate Peanut Butter Ice Cream
Quick Overview
Making No Churn Chocolate Peanut Butter Ice Cream is possible in just about 15 minutes of prep! The hardest part? Waiting for it to freeze! Once made, you can relish the creamy goodness infused with chocolate and peanut butter that tantalizes your taste buds on a hot day or cozy winter evening.
Preparation time: 15 minutes
Freezing time: 4-6 hours
Ingredients
To create this decadent ice cream, gather the following ingredients:
- 2 cups heavy cream
- 1 can sweetened condensed milk
- 1 cup creamy peanut butter
- 1 cup chocolate syrup
- 1 teaspoon vanilla extract
- Pinch of salt
Note: Ensure the ingredients are Halal-certified for full compliance!
Step-by-Step Instructions
- Whip the Cream: In a large mixing bowl, whip the 2 cups of heavy cream with an electric mixer on medium-high speed until soft peaks form. This is the secret to that fluffy texture everyone loves!
- Combine Ingredients: In a separate bowl, mix together the can of sweetened condensed milk, 1 cup of creamy peanut butter, chocolate syrup, vanilla extract, and the pinch of salt. Stir until smoothly blended.
- Folding the Mixtures: Gently fold the whipped cream into the peanut butter mixture. Be cautious not to deflate the cream—this step is crucial for that light and airy ice cream texture!
- Freeze: Pour the entire mixture into a freezer-safe container. Smooth out the top with a spatula and cover it tightly before placing it in the freezer.
- Chill Out: Freeze for at least 4-6 hours or until it’s solid. It’s best to leave it overnight for ideal texture.
- Scoop & Enjoy: Once frozen, scoop out your No Churn Chocolate Peanut Butter Ice Cream and indulge!
Top Tips for Perfecting No Churn Chocolate Peanut Butter Ice Cream
- Substitutions: If you want to mix things up, try using almond butter or cashew butter instead of peanut butter. Just ensure they are Halal-certified!
- Timing: Ensure your heavy cream is cold for better whipping results. It makes a difference in achieving those soft peaks!
- Avoid Pitfalls: One common mistake is over-mixing when folding in the whipped cream. Fold gently until just combined to keep the light texture.
Storing and Reheating Tips
To store No Churn Chocolate Peanut Butter Ice Cream, make sure it’s kept in an airtight, freezer-safe container. This ice cream can be enjoyed for up to 2 weeks, but trust me, you’ll be reaching for seconds before you know it!
If you find your ice cream a bit too solid after it’s been in the freezer, let it sit at room temperature for about 5-10 minutes for easier scooping. Enjoy your homemade treat at any family gathering or cozy evening!
Conclusion
There you have it—the secrets to making the best No Churn Chocolate Peanut Butter Ice Cream! With its creamy texture and luscious flavors, this recipe is destined to become a staple in your dessert repertoire. Before you grab your apron, let’s make some memories in the kitchen, and remember, the way to a man’s heart (or everyone’s heart, if we are honest) is through this delightful creamy creation! Enjoy, and happy scooping!

I am Mark Luke and I’m the founder of PrinterBio.com. I started this site because I was tired of dealing with the problems that come with using printers. I wanted to help others avoid the time and frustration I had, So I started this site based on my own experience & what I’ve learned from other professionals. My goal is to help you find the right printer and easily solve any problems you may have with your printer.