Who doesn’t love the delightful crunch of a fresh apple coated in rich, buttery caramel? These Mini Caramel Apples are the perfect treat for family gatherings or cozy winter evenings. Imagine a bite-sized burst of sweetness that combines crispy texutre with a velvety caramel layer. Fun fact: Did you know that caramel apples were originally created in the 1950s? They quickly became a favorite at fairs and carnivals, inviting visitors to savor their nostalgic flavors. What sets this recipe apart is its simplicity—ideal for those family cooking sessions that everyone can enjoy! If you’ve tried my Classic Chocolate Chip Cookies, you’ll find this recipe equally approachable yet irresistibly delicious. Let’s dive in and capture everyone’s hearts with these sweet bites!
What are Mini Caramel Apples?
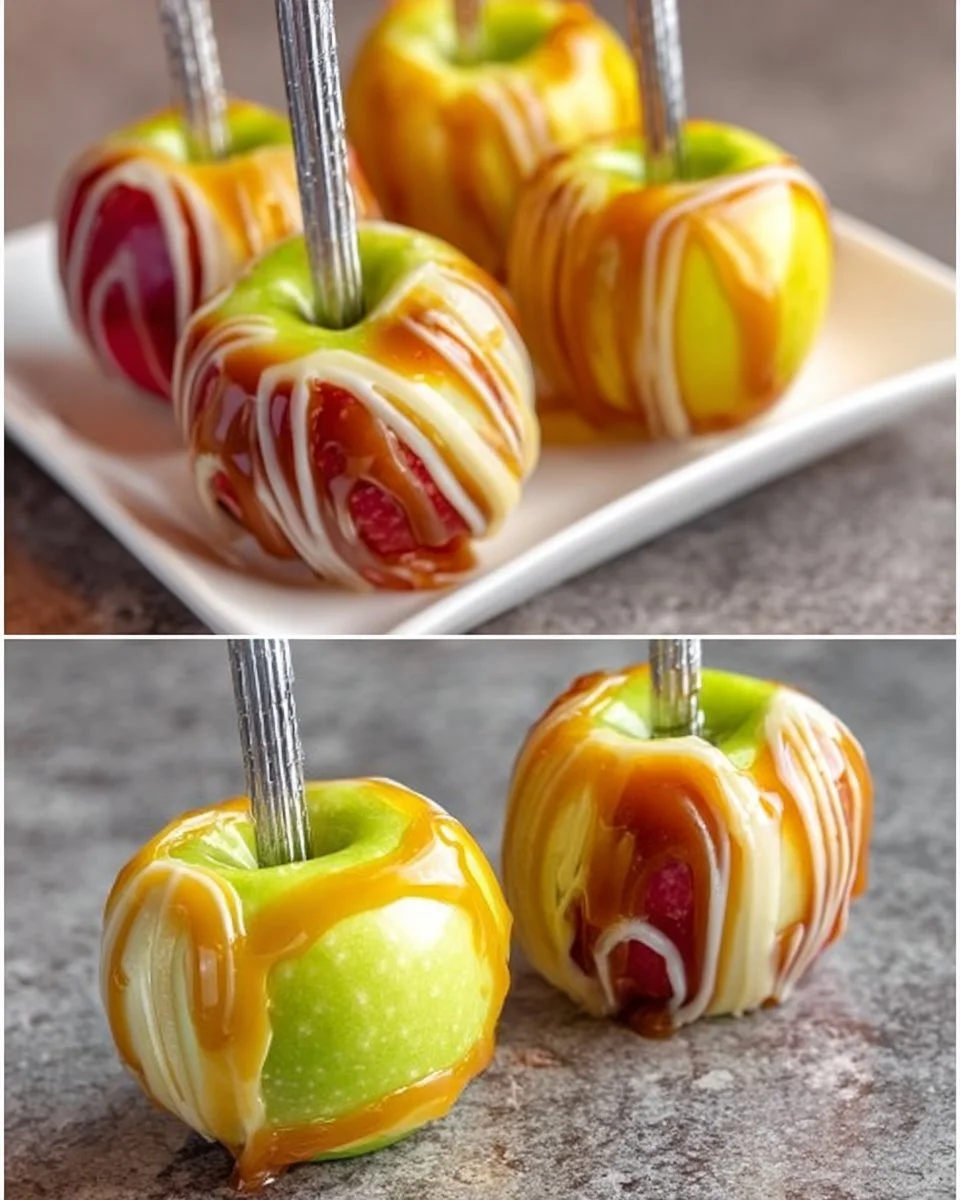
So, you may wonder, what exactly are Mini Caramel Apples? Picture this: you take a juicy mini apple, stick it with a wooden stick, and then submerge it into a luscious caramel bath. Sounds simple, right? But have you ever stopped to think about why we call them “mini”? Is it because they’re cute, or because they’re portion-perfect for little hands? You might even say that the way to a man’s heart is through his stomach—so why not treat the whole family? These tiny sweets are not just fun to eat but also quick to prepare, making them an irresistible snack or dessert. What are you waiting for? It’s your turn to create magic in the kitchen!
Why You’ll Love This Mini Caramel Apples
There are plenty of reasons why you’ll fall head over heels for these Mini Caramel Apples. First, they’re a delightful combination of sweet and crunchy, featuring that irresistibly creamy caramel that hugs the apple so perfectly. You’ll enjoy all the joys of caramel apples, but in adorable mini portions! Plus, making them at home is a fantastic way to save money compared to buying them from the store while avoiding any undesirable ingredients. You can also elevate your personal creation with flavors like chopped nuts, sprinkles, or chocolate chips. If you’ve loved my Homemade Chocolate Covered Strawberries, you will delight in this equally rich yet utterly delightful treat.
How to Make Mini Caramel Apples
Quick Overview
Making Mini Caramel Apples is as easy as pie—or should I say, “apple”? With only a few ingredients and minimal cooking involved, you’ll be satisfied with both the process and the end result. These tasty treats are perfect for anyone who craves a balance of creamy caramel and crunchy apples. Get ready to enjoy this satisfying recipe that takes approximately 30 minutes to prepare (and about 10 minutes to devour!).
Ingredients
- 20 mini apples (any variety will do; choose your favorite!)
- 2 cups caramel candy, unwrapped
- ¼ cup chopped nuts (optional, for those who love a little crunch)
- 20 wooden sticks, craft sticks or popsicle sticks
Preparation Notes: Make sure your mini apples are washed and dried thoroughly. This step is essential for the caramel to adhere properly.
Step-by-Step Instructions
- Prep Your Apples: Start by washing the mini apples under cool running water and patting them dry with a paper towel. This will help the caramel stick better to the apples.
- Insert Sticks: Gently insert a wooden stick into the stem end of each mini apple, making sure it’s deep enough to hold it firmly for dipping.
- Melt the Caramel: In a microwave-safe bowl, combine the caramel candies with a tablespoon of water. Microwave in 30-second intervals, stirring in between, until the caramel is smooth and fully melted. Be careful not to overheat it!
- Dip the Apples: Once the caramel is melted, dip each apple into the caramel until it’s well-coated. Use a spoon to help guide the caramel over the apple, if necessary.
- Optional Coating: If desired, roll the caramel-coated apple in chopped nuts or any other desired toppings.
- Cool Down: Place the dipped apples on a parchment-lined baking sheet to allow the caramel to set. Refrigerate for about 10 minutes if you want it to firm up faster.
- Serve and Enjoy: Once the caramel has hardened to your liking, serve these delicious bites right away, or store them for later!
Top Tips for Perfecting Mini Caramel Apples
- Substitutions: If you can’t find caramel candies, you can use pre-made caramel sauce. Just make sure it’s Halal-friendly!
- Timing: Keep an eye on the caramel while melting. Stir consistently to avoid burning.
- Avoiding Common Mistakes: Ensure your apples are completely dry before dipping. If they’re too wet, the caramel won’t adhere properly.
- For Texture Lovers: Consider adding crushed cookies or graham crackers as an alternative topping along with nuts for an extra layer of flavor!
Storing and Reheating Tips
If you have leftovers (but let’s be honest, that’s unlikely!), you can store Mini Caramel Apples in the refrigerator. Place them in an airtight container to keep them fresh. They’ll last about 5-7 days. If you want to freeze them, wrap each apple tightly in plastic wrap and then place them in a freezer-safe container. They can keep in the freezer for up to a month. When you’re ready to enjoy them, thaw in the refrigerator overnight, ensuring they retain a great texture!
These Mini Caramel Apples are destined to become a beloved staple in your family’s recipe book. Whether it’s an everyday snack or a special treat for movie nights, they embody pure joy and simplicity! Why not gather everyone in the kitchen and make some together? You won’t regret it!

I am Mark Luke and I’m the founder of PrinterBio.com. I started this site because I was tired of dealing with the problems that come with using printers. I wanted to help others avoid the time and frustration I had, So I started this site based on my own experience & what I’ve learned from other professionals. My goal is to help you find the right printer and easily solve any problems you may have with your printer.