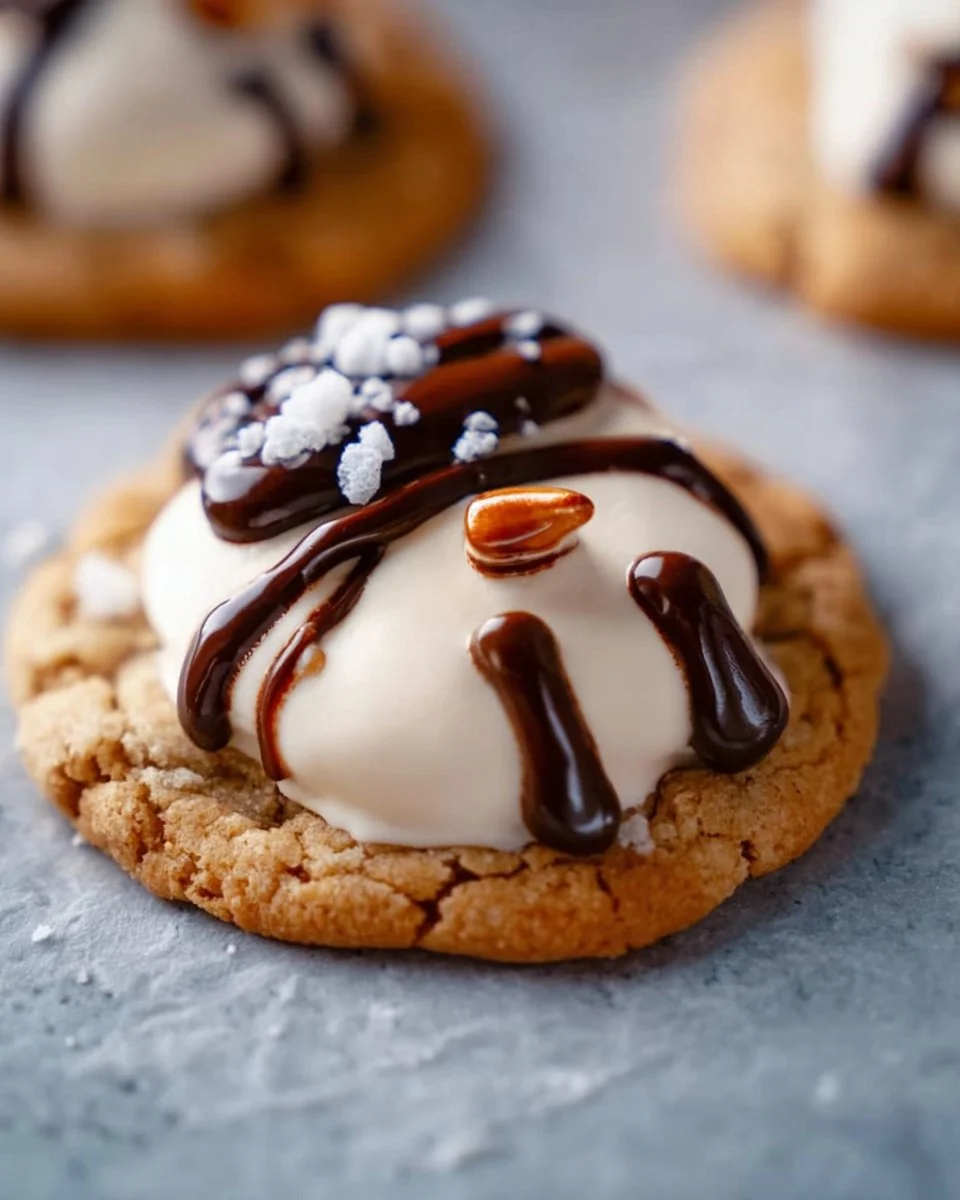
There’s something incredibly heartwarming about biting into a freshly baked cookie, especially when that cookie is a deliciously gooey Marshmallow Melted Cookie. Picture this: a warm, chewy cookie with pockets of melted marshmallow, slightly crispy edges, and a soft center that begs for another bite. This delightful treat is perfect for family gatherings or cozy winter evenings and is guaranteed to become a favorite among your loved ones.
Did you know that baking cookies can evoke fond memories from childhood? It’s like a time capsule of all those delightful afternoons spent in the kitchen, with the wonderful aroma of sweet treats wafting through the house. If you’re a fan of our popular Soft Chocolate Chip Cookie recipe, you’re going to adore these Marshmallow Melted Cookies! They’re just as simple to whip up and just as rewarding. Let’s dive into this sweet adventure together!
What is Marshmallow Melted Cookies?
So, what exactly are Marshmallow Melted Cookies? Well, they might sound like they were whipped up in a magical pastry shop, but in reality, they’re super easy to make at home! Have you ever wondered how they got their fun name? Perhaps it’s because they look like fluffy clouds nestled on top of a cookie foundation, or maybe it’s because once you taste them, you’ll understand that the way to a man’s heart is through his stomach! These cookies are a delightful mix of chewy and gooey with a hint of sweetness that calls for a second (or third) serving. Trust me, you’ll want to whip up a batch soon — who can resist a cookie that comes with its very own melted marshmallow topping?
Why You’ll Love This Marshmallow Melted Cookies
Let me share three reasons why Marshmallow Melted Cookies will steal the spotlight at your next family gathering. First, the cookie itself is the star of the show, combining a robust vanilla flavor with hints of chocolate chips that melt in your mouth in the best way possible. Second, by making these cookies at home, you’ll save money that would otherwise be spent at a café. Homemade is always a win for both your wallet and your taste buds! And lastly, let’s talk about those flavorful toppings. Picture creamy chocolate drizzle, colorful sprinkles, or even a pinch of sea salt. They all add layers of deliciousness that elevate your cookie experience. Trust me, once you try this recipe, you’ll want to plate these cookies with pride and share the goodness. So, ready to roll up your sleeves and bake?
How to Make Marshmallow Melted Cookies
Quick Overview
Making Marshmallow Melted Cookies is as easy as pie—well, easier! In just about 25 minutes, you’ll be pulling warm, gooey cookies from your oven, ready to wow your friends and family. The sweetness of the melted marshmallows combined with the slight crispness of the cookie edges creates a delightful contrast that will keep everyone coming back for more. Let’s get baking!
Ingredients for Marshmallow Melted Cookies
- 1 cup (2 sticks) unsalted butter, softened
- 1 cup granulated sugar
- 1 cup packed brown sugar
- 2 large eggs
- 1 teaspoon vanilla extract
- 3 cups all-purpose flour
- 1 teaspoon baking soda
- 1/2 teaspoon salt
- 1 cup semi-sweet chocolate chips
- 1 cup mini marshmallows
Step-by-Step Instructions
- Preheat Your Oven: Begin by preheating your oven to 350°F (175°C). This step is important to get your cookies to rise perfectly.
- Mix Butter and Sugars: In a large mixing bowl, cream together the softened butter, granulated sugar, and brown sugar until it’s light and fluffy—about 2-3 minutes using an electric mixer.
- Add Eggs and Vanilla: Beat in the eggs one at a time, mixing well after each addition. Then, stir in the vanilla extract until well combined.
- Combine Dry Ingredients: In a separate bowl, whisk together the flour, baking soda, and salt. Gradually add this dry mixture to the wet ingredients, mixing until just combined.
- Fold in Chocolate Chips: Gently stir in the semi-sweet chocolate chips, ensuring they are evenly distributed throughout the dough.
- Prepare the Baking Sheet: Line a baking sheet with parchment paper, ensuring your cookies won’t stick while baking.
- Scoop Dough: Use a cookie scoop or tablespoon to drop rounded balls of dough onto the prepared baking sheet, leaving enough space between them for spreading.
- Bake: Bake for 10-12 minutes, or until the edges start to turn golden brown.
- Add Marshmallows: Remove the cookies from the oven and immediately add a few mini marshmallows on top of each cookie. Return the cookies to the oven and bake for an additional 2-3 minutes until the marshmallows are beautifully melted!
- Cool and Serve: Allow the cookies to cool on the baking sheet for a few minutes before transferring them to a wire rack. Enjoy your warm Marshmallow Melted Cookies!
Top Tips for Perfecting Marshmallow Melted Cookies
- Swap the Chocolate: If you’re looking for a twist, try using white chocolate chips or even peanut butter chips for a unique flavor profile.
- Don’t Overbake: Keep a close watch on them towards the end of the baking time to prevent them from becoming hard. The cookies should be soft in the center.
- Experiment with Add-Ins: Feel free to add nuts or dried fruit to the cookie dough for added texture and flavor.
- Chill Your Dough: If time allows, chill the dough for about 30 minutes before baking to enhance the flavor and chewiness.
Storing and Reheating Tips
To maintain the freshness and delightful texture of your Marshmallow Melted Cookies, store them in an airtight container at room temperature for up to 5 days. Want to keep them longer? They can also be frozen for up to 3 months! Just make sure they’re completely cooled before storing in a freezer-safe bag. To reheat, pop them in a preheated oven at 300°F (150°C) for 5-10 minutes to restore that soft texture without losing the marshmallow goodness.
Now that you have your Marshmallow Melted Cookies recipe, it’s time to bake some joy into your kitchen! Enjoy this scrumptious treat and the smiles they bring to your family!

I am Mark Luke and I’m the founder of PrinterBio.com. I started this site because I was tired of dealing with the problems that come with using printers. I wanted to help others avoid the time and frustration I had, So I started this site based on my own experience & what I’ve learned from other professionals. My goal is to help you find the right printer and easily solve any problems you may have with your printer.