If you’re looking for a delightful dessert that can elevate any family gathering, look no further than the Chocolate Bunny Cake! This moist and rich chocolate cake is not only a visual treat with its fun bunny theme, but it also satisfies your sweet tooth with its luscious chocolate flavor. As you cut into the cake, you’ll experience a tender crumb that melts in your mouth, making it an absolute crowd-pleaser. Fun fact: Did you know that chocolate desserts were once reserved for special occasions? Imagine surprising your family with this easy yet elegant treat! The appeal of this cake certainly rivals that of more well-known desserts, like the ever-popular chocolate lava cake, which can also feel fancy but may leave you with a messy kitchen. So, whether you’re gathering during a cozy winter evening or enjoying a delightful family meal, the Chocolate Bunny Cake is the perfect way to add a little magic to your dessert table!
What is Chocolate Bunny Cake?
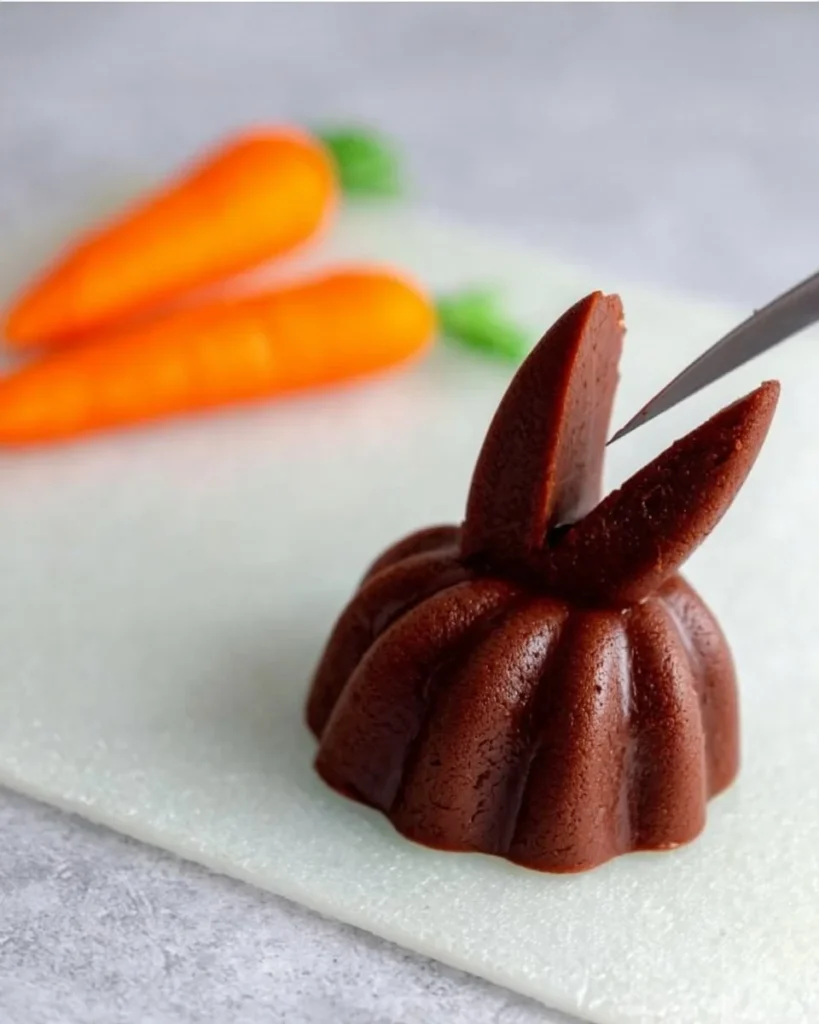
Now, you may be wondering, why the name “Chocolate Bunny Cake?” Is it because it hops straight into your heart? Maybe it’s because everyone comes hopping around the dessert table when it appears! Regardless, the true charm of this dessert lies in its simple yet delightful design that everyone, young and old, loves. Could you resist it? After all, they say the way to a man’s heart is through his stomach! So, why not impress with this chocolate delight? Trust me, this cake will have everyone asking for seconds!
Why You’ll Love This Chocolate Bunny Cake
When it comes to chocolate desserts, this Chocolate Bunny Cake stands tall, showcasing a delectable blend of flavor and fun. The cake serves as a beautiful centerpiece for gatherings, with a rich chocolate base that makes each bite a taste of heaven. You can easily whip it up at home, saving money while creating a dessert that’s far superior to store-bought options. Plus, you can have a blast customizing it with flavorful toppings like buttercream frosting and chocolate shavings or sprinkles that add an exciting layer of texture and color! If you love the moist, rich experience of a classic chocolate cake, then you’ll undoubtedly fall for this delightful creation. Ready to take your dessert game to the next level?
How to Make Chocolate Bunny Cake
Quick Overview
The Chocolate Bunny Cake is not just a flavorful treat; it’s incredibly easy to make! In just about 30 minutes of prep time, you can create a cake that will wow your family and friends. With a fluffy texture that embraces a deep chocolate flavor, it’s a gratifying experience to bake and enjoy.
Ingredients
- 1 3/4 cups all-purpose flour
- 1 3/4 cups granulated sugar
- 3/4 cup unsweetened cocoa powder
- 1 1/2 teaspoons baking powder
- 1 1/2 teaspoons baking soda
- 1 teaspoon salt
- 2 large eggs
- 1 cup whole milk
- 1/2 cup vegetable oil
- 2 teaspoons vanilla extract
- 1 cup boiling water
- Buttercream frosting
- Chocolate shavings or sprinkles for decoration
Preparation Notes: Make sure to measure out each ingredient accurately for the best results. Set your oven to preheat at 350°F (175°C) while you prepare the cake.
Step-by-Step Instructions
- Preheat the Oven: Start by preheating your oven to 350°F (175°C) and prepare two round 9-inch baking pans by greasing them lightly with oil or butter.
- Mix Dry Ingredients: In a large mixing bowl, whisk together the flour, sugar, cocoa powder, baking powder, baking soda, and salt until well combined.
- Combine Wet Ingredients: In another bowl, add the eggs, milk, vegetable oil, and vanilla extract. Mix well until blended.
- Combine Mixtures: Gradually add the wet ingredients to the dry ingredients while mixing until just combined.
- Incorporate Boiling Water: Carefully stir in the boiling water. The batter will be thin, but that’s okay! This step helps to keep the cake moist.
- Pour into Pans: Divide the batter evenly between the two prepared pans.
- Bake: Place the pans into the oven and bake for 30-35 minutes, or until a toothpick inserted in the center comes out clean.
- Cool: Once baked, allow the cakes to cool in the pans for about 10 minutes. Then, transfer them to a wire rack to cool completely.
- Frosting: Once cooled, decorate the cakes with buttercream frosting and sprinkle chocolate shavings or sprinkles on top.
- Serve and Enjoy: Slice the cake, serve, and bask in the compliments that come your way!
Top Tips for Perfecting Chocolate Bunny Cake
- Substitutions: If you’re looking for a lighter batter, consider using unsweetened applesauce in place of half the vegetable oil. It adds moisture while cutting down some calories!
- Timing: Make sure to keep an eye on the cake during the last few minutes of baking. Ovens can vary, and overbaking can lead to a dry cake.
- Avoiding Mistakes: One common misstep is not letting the cake cool fully before frosting. This can lead to melting frosting—wait until it’s completely cool for the best results!
Storing and Reheating Tips
To keep your Chocolate Bunny Cake fresh, store it in an airtight container. It will last for about 3-4 days in the refrigerator. You can also freeze the unfrosted cake layers for up to 3 months. Simply wrap each layer tightly in plastic wrap, then in foil before placing in the freezer. When you’re ready to enjoy it again, thaw it overnight in the fridge, then frost and serve!
Now, who’s ready to dive into this delightful Chocolate Bunny Cake recipe? Get your ingredients ready, gather your loved ones, and create sweet memories that will last a lifetime. Happy baking!

FAQ
Feel free to include any questions your readers might want to know about this dessert or general baking tips.
Chocolate Bunny Cake
Ingredients
Method
- Preheat your oven to 350°F (175°C) and prepare two round 9-inch baking pans by greasing them lightly with oil or butter.
- In a large mixing bowl, whisk together the flour, sugar, cocoa powder, baking powder, baking soda, and salt until well combined.
- In another bowl, add the eggs, milk, vegetable oil, and vanilla extract. Mix well until blended.
- Gradually add the wet ingredients to the dry ingredients while mixing until just combined.
- Carefully stir in the boiling water. The batter will be thin, which helps to keep the cake moist.
- Divide the batter evenly between the two prepared pans.
- Place the pans into the oven and bake for 30-35 minutes, or until a toothpick inserted in the center comes out clean.
- Once baked, allow the cakes to cool in the pans for about 10 minutes. Then, transfer them to a wire rack to cool completely.
- Once cooled, decorate the cakes with buttercream frosting and sprinkle chocolate shavings or sprinkles on top.
- Slice the cake, serve, and bask in the compliments that come your way!
Notes

I am Mark Luke and I’m the founder of PrinterBio.com. I started this site because I was tired of dealing with the problems that come with using printers. I wanted to help others avoid the time and frustration I had, So I started this site based on my own experience & what I’ve learned from other professionals. My goal is to help you find the right printer and easily solve any problems you may have with your printer.